


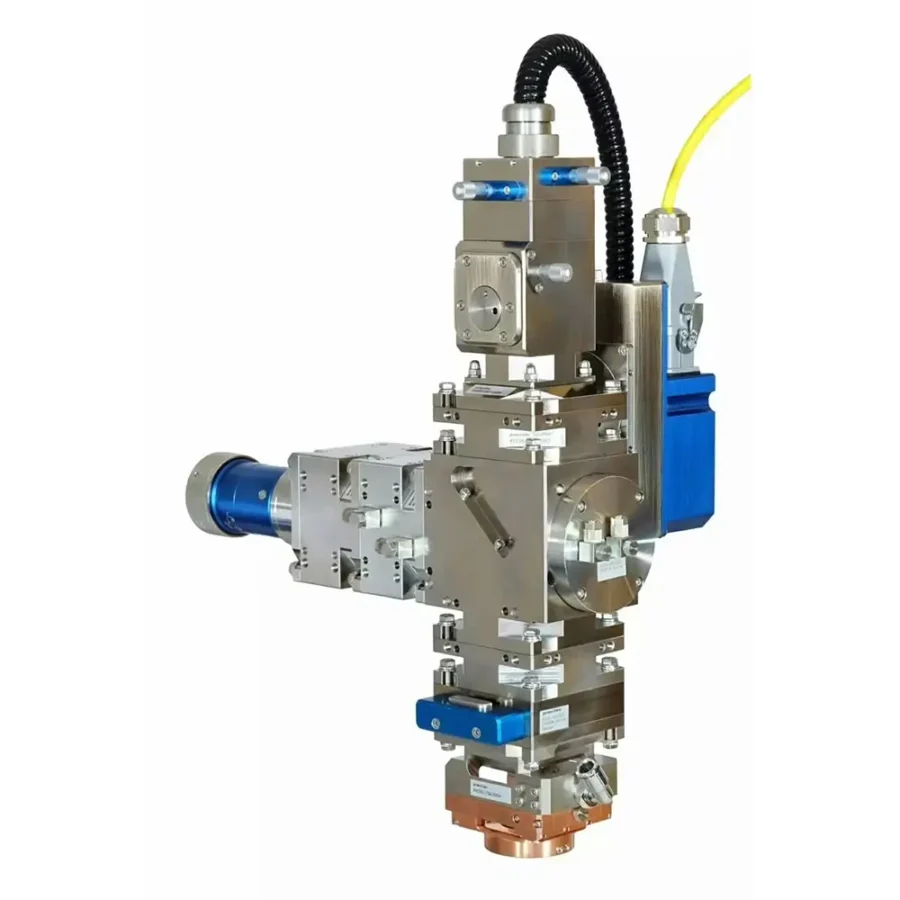
Cutting head Precautions are vital for protecting cutting heads, ensuring stable performance, and avoiding costly damage. Whether installing for the first time at an OEM company or reconfiguring at a client’s site, following strict rules reduces risks like lens contamination and fiber breakage. This guide details key steps and safety measures to keep your cutting head in top condition.
First-time installation demands clean environments and careful checks to prevent initial damage. Follow these four key steps:
Work in a cleanroom or flow box. Run the flow box for about 30 minutes first. Check the cleanliness of the cutting head’s optical path lenses. This stops dust from the shipping process from getting into the upper protective lens.
If you find dust on the upper protective lens, clean it right away. Then, insert the optical fiber into the cutting head inside the flow box. Before insertion, put the black leather cover (supplied with the cutting head) on the fiber. Seal the fiber connection with white tape to block cutting dust from entering the cutting head cavity.
Install the fiber-connected cutting head onto the machine. Let the machine’s XYZ axes run empty for 5–10 minutes. If the surrounding environment is clean, quickly remove the upper protective lens. Seal the opening immediately after removal.
Check if the upper protective lens is clean. If there is dust, clean it in the flow box and reinsert it. Or replace it with a new upper protective lens module. This step removes dust or metal shavings brought in when inserting the fiber. For IPG lasers, improper fiber insertion can create metal shavings—this test run shakes them off.
Use white tape to wrap the cutting head body. Focus on sealing gaps on the outer surface. Leave only the coaxial adjustment area uncovered.
This does two things: it keeps the cutting head from looking old (due to smoke staining) before delivery to clients. It also stops cutting smoke from seeping into the cutting head and contaminating the collimating and focusing lenses. You can do this step right after Step 1 for easier operation.
Do not cut at full power right after the first three steps. Start with 1KW power and run for 40–60 seconds. Watch for obvious changes in the reflection value.
If there are no changes, increase power by 1KW each time (run 40–60 seconds per level) until reaching full power. If the reflection value changes suddenly at any level, stop the laser immediately. Check and replace the upper and lower protective lenses first. If they are fine, inspect the optical fiber. If all three are in good condition, send the cutting head back for repair—do not keep using it. Only use the cutting head if the diffuse reflection value and temperature stay normal.
It is best to ship the cutting head and fiber together. This avoids repeated insertion/removal that increases lens contamination risks. If you must separate them, follow these steps for on-site reinstallation:
Before shipping, take the cutting head to a cleanroom. Check the upper and lower protective lenses. Clean any dust and replace lenses with burn marks. This prevents laser damage to lenses from dust left after initial testing.
Follow the laser manufacturer’s rules to clean the fiber’s metal arm and quartz block end. Insert the fiber into the cutting head quickly. Put the black leather cover on the fiber and seal the connection with white tape. This blocks cutting dust from entering the cutting head.
Step 3: Run the machine’s XYZ axes empty (same as Step 2 of first installation).
Step 4: Wrap the cutting head body with tape (same as Step 3 of first installation).
Step 5: Test the diffuse reflection value (same as Step 4 of first installation).
Pay close attention to the fiber’s bending radius on the Z-axis. It must not be less than 200mm. A smaller radius causes fiber fatigue and breakage over time.
Never install the fiber in a “bowtie” shape. This creates torque on both the fiber and cutting head. Torque can loosen the fiber connection and trigger a fiber circuit break alarm.
Maintenance steps like replacing heads or lenses need strict adherence to clean practices.
Always handle fiber insertion/removal for replacement heads in a flow box. Follow these steps:
OEM engineers can replace upper protective lenses without removing the cutting head from the machine. Remember these rules:
Clients can replace lower protective lenses without removing the cutting head. Follow these steps:
By following these cutting head precautions, you extend the cutting head’s life, ensure stable cutting performance, and avoid unexpected downtime or repair costs.


